Beneteau First 210 Tech Notes
Title: Outboard Motor Bracket Modification
Author: Terry F. Ellis and Ron Stephenson
FIRST 21.0 OUTBOARD BRACKET MODIFICATION:
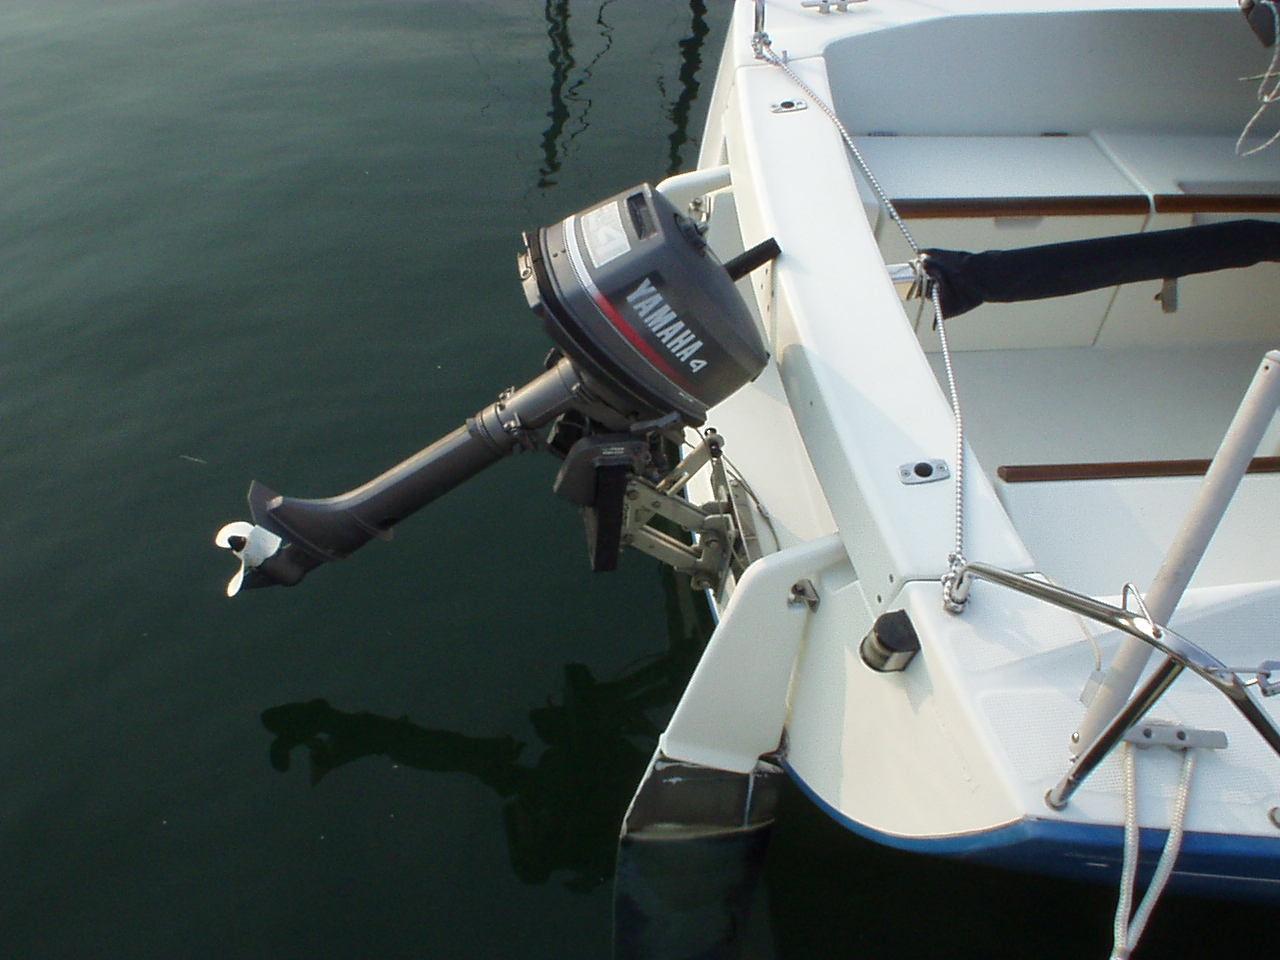
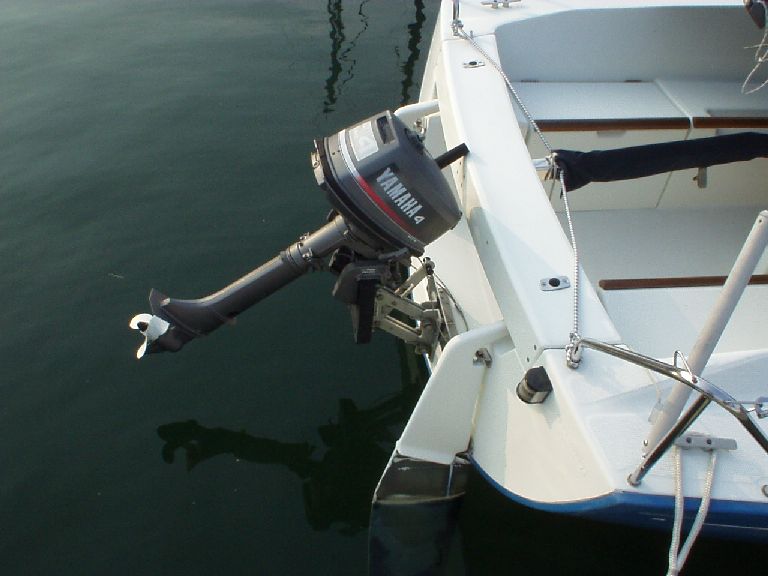
The blue hull First 21.0 has double rudders. This allows placement of
the outboard bracket on the boat's center line, between the two rudders.
This is ideal for weight distribution. However, the factory OB Bracket
was a "sliding" type vs. a "spring" loaded type. This required lifting
the combined weight of the motor and aluminum bracket to raise or lower
the motor. It is hard on one's back and could pinch fingers too. So, my
friend replaced the factory bracket on his First 21.0 (Hull # 34) with
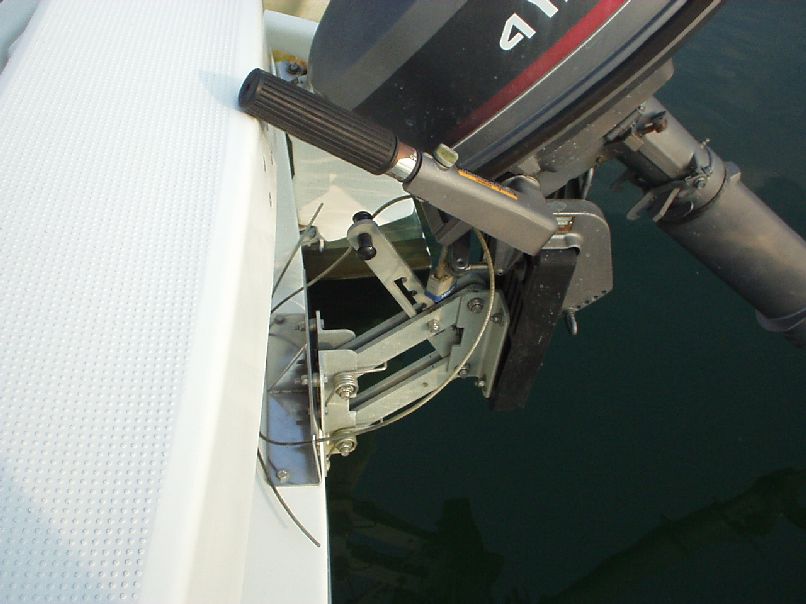
a spring loaded OMC type. To mount it, a boat repair shop adapted the exsiting
stainless steel bracket (90 degree angled 1/4" thick piece) on the cockpit
sole. This has worked very well with his 4 HP Yamaha outboard engine. It
is also more attractive than the original factory bracket.
For this modification, you must remove the wooden panels inside the
cabin on the starboard aft side quarter berth to gain access to the inside
of the transom. The space available to reach the nuts on the thru transom
bolts is barely sufficient.
FIRST 21.0 CLASSIC OUTBOARD BRACKET MODIFICATION:
The factory placement of the outboard bracket on my First 21.0 Classic (Hull #58) was a heavy and sturdy spring lifting
design by OMC. It was securly bolted on the starboard side of the boat's transom. It was designed to accept up to an 8 HP
outboard engine with a long shaft. I had a 4 HP Johnson with standard (15") shaft. I did not want a 65 pound, 8 HP engine,
I felt was too heavy and powerful. With the factory bracket swung down to its lowest position, my 4 HP Johnson would not
reach the water. I removed the factory bracket and patched the 4 bolt holes with silicon sealant and "Marine Tex" epoxy.
I replaced the factory OB bracket with a lighter weight OMC spring loaded bracket (for engines up to 6 HP). I relocated
this bracket lower on the transom, as near to the center line of the boat as possible without interfering with the rudder.
I drilled three new holes in the transom and fastened this bracket's support piece with 3/8" Stainless Steel bolts
(1 upper right and two lower bolts). The lower holes ware well above the hull waterline. To fasten the upper left
corner of the bracket support, I made a "knee" out of 2" thick mahogany. I bolted that knee to the cockpit sole and
then secured the fourth bolt of the OB support bracket to it (like a shelf support knee). I stained and varnished
this "knee" to match the other mahogany trim on my boat. This has worked perfectly for me for three years now.
The new location brings the weight of the OB closer to the center line and allows the motor to run deep enough
to avoid cavitation in high waves. Also, I can now pull the starter cord from beneath the transom support beam,
through the boat's open stern section.
Title: Outboard Motor Bracket Modification
Model(s): First 21 Classic; First 210
System(s): Engines - Outboard
Author: Terry F. Ellis
updated May 12, 2004
|